


Circuit breakers are vital components in any electrical system, ensuring the safe and proper operation of appliances and equipment. Over time, circuit breakers can experience problems or fail and need to be replaced. In this blog post, we will guide you through the step-by-step process of replacing a 30-300A circuit breaker to keep your electrical system safe.
Step 1: Safety Precautions
Prioritizing safety is crucial before starting any electrical work. Make sure you have turned off the main power by turning off the main breaker in the electrical panel. This step will protect you from any potential electrical hazards while operating the circuit breaker.
Step 2: Equipment and Tools You'll Need
To replace a circuit breaker, prepare the following tools and materials:
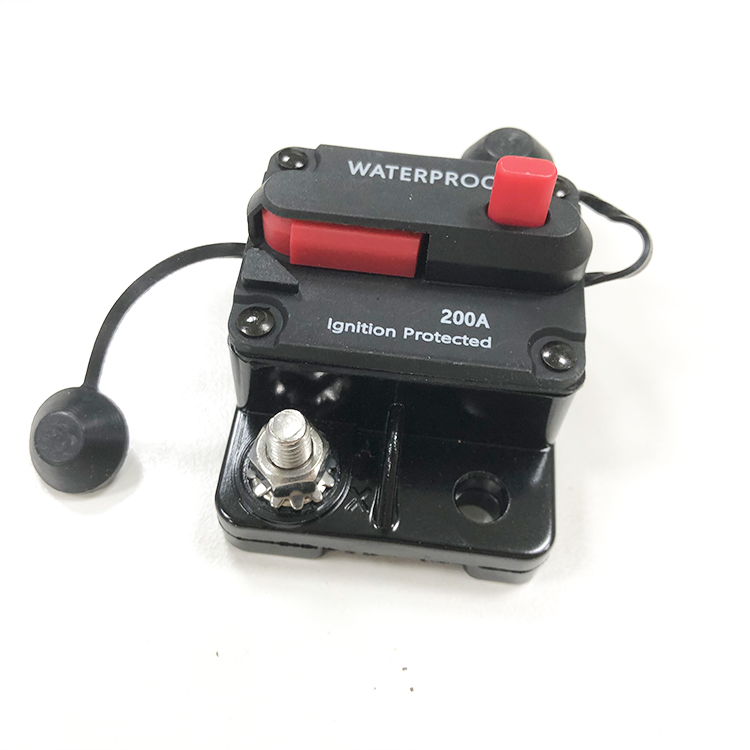
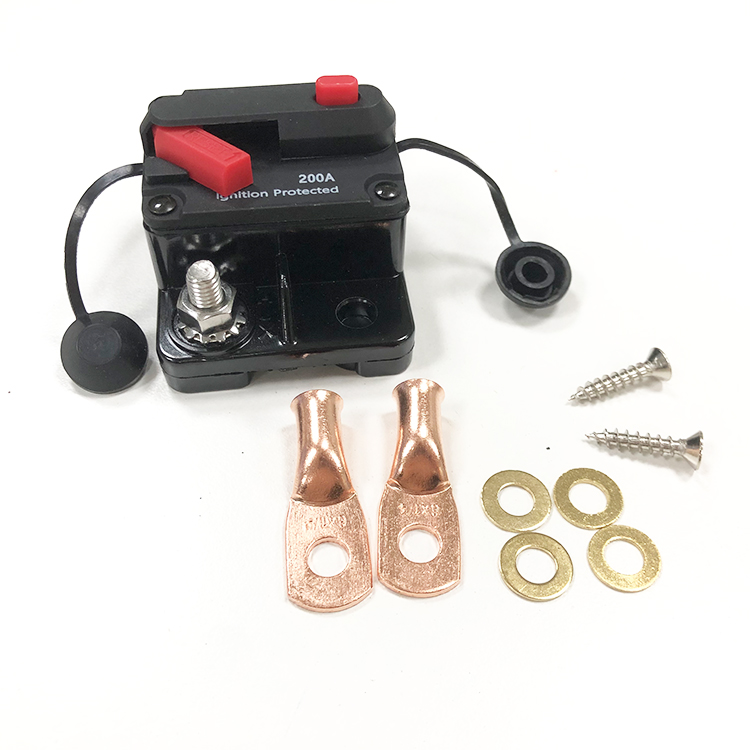
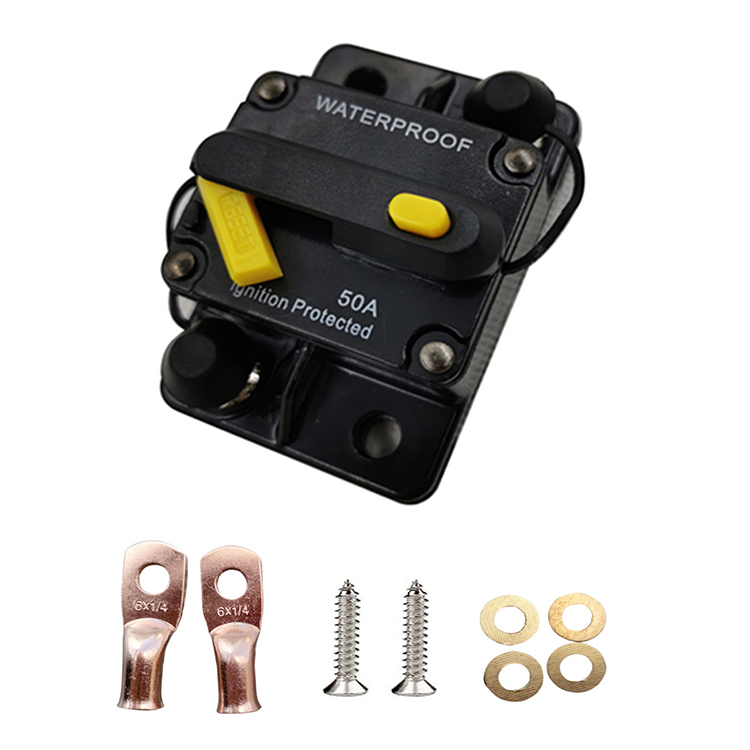
1. Replace the circuit breaker (30-300A)
2. Screwdriver (flat head and/or Phillips head, depending on the breaker screw)
3. Electrical tape
4. Wire strippers
5. Safety glasses
6. Voltage tester
Step 3: Identify the Faulty Circuit Breaker
Locate the circuit breaker that needs to be replaced inside the electrical panel. A faulty circuit breaker may show signs of damage, or may trip repeatedly, disrupting the function of the appliance.
Step 4: Remove the Breaker Cover
Use a screwdriver to remove the screws holding the breaker cover in place. Gently lift the cover to reveal the circuit breaker and wiring inside the panel. Remember to wear safety glasses throughout the procedure.
Step 5: Test Current
Check each circuit around the faulty circuit breaker with a voltage tester to make sure there is no current flow. This step prevents any accidental shock during removal and installation.
Step 6: Unplug the Wires from the Faulty Breaker
Carefully loosen the screws securing the wires to the fault circuit breaker. Use wire strippers to remove a small section of insulation from the end of each wire to provide a clean surface for replacing the breaker.
Step 7: Remove the Faulty Breaker
After disconnecting the wires, gently pull the faulty breaker out of its socket. Be careful not to break any other wires or connections during this process.
Step 8: Insert a Replacement Breaker
Take the new 30-300A breaker and line it up with the empty slot in the panel. Push it firmly and evenly until it snaps into place. Make sure the circuit breaker snaps into place for proper connection.
Step 9: Reconnect the Wires to the New Breaker
Reconnect the wires to the new breaker, making sure each wire is securely fastened to its respective terminal. Tighten the screws to provide a stable connection. Insulate the exposed sections of the wires with electrical tape for added safety.
Step 10: Replace the Breaker Cover
Carefully put the breaker cover back on the panel and secure it with the screws. Double check that all screws are fully tightened.
By following these step-by-step instructions, you'll be able to replace a 30-300A circuit breaker safely and efficiently. Remember to prioritize safety throughout the process, turn off main power and use proper protective gear. If you find yourself unsure or uncomfortable performing electrical work, it is advisable to seek professional help. Stay safe and keep your electrical system running smoothly!
Post time: Aug-15-2023